CALL OR TEXT : 954-919-9628
The Ultimate Guide to DIY Popcorn Ceiling Removal
Introduction
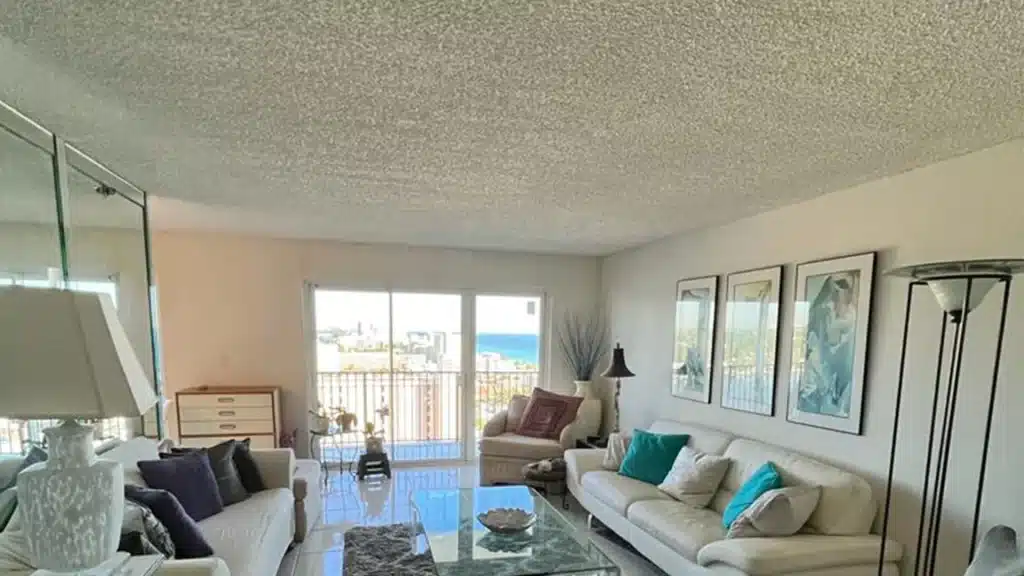
You’ve probably noticed that bumpy, white, or off-white ceiling in your home that eerily resembles popcorn. This particular ceiling style, widely known as a popcorn ceiling, was once the de facto choice for residential homes across the globe. But just like bell bottoms and tie-dye, it’s a fashion that has somewhat fallen out of favor over the years. Today, we’re here to walk you through the process of giving your ceiling a much-needed facelift via the DIY popcorn ceiling removal process.
What is a Popcorn Ceiling?
The history of popcorn ceilings
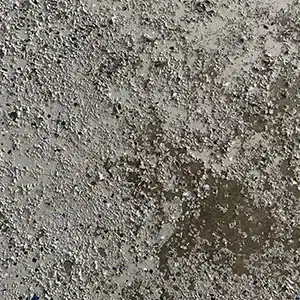
The popcorn ceiling, also known as the acoustic ceiling, enjoyed its heyday from the 1950s to the 1980s. It was seen as a quick, easy, and affordable option for builders to slap onto ceilings. Besides being easy to install, it had other benefits too. It was excellent at dampening sound, covering ceiling imperfections, and even providing minor insulation.
Why remove popcorn ceilings?
However, the tide has turned on popcorn ceilings. They’re now widely viewed as outdated and can even be detrimental when selling a house. They also tend to attract and trap dust and cobwebs, which can be a nuisance to clean. If they get damaged, it’s difficult to patch the area without noticing it. Plus, if your popcorn ceiling was installed before the 1980s, there’s a chance it could contain asbestos, which is a serious health hazard if disturbed.
Before You Begin: Safety and Preparation
Safety considerations
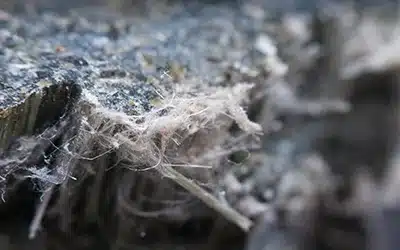
Before you embark on this home improvement journey, it’s crucial to ensure the safety of everyone involved. First and foremost, if your house was built before the 1980s, you’ll need to test your ceiling for asbestos. If it tries positive, do not attempt to remove it yourself. Asbestos is dangerous when disturbed, and trained professionals should only do the removal.
Tools and materials needed
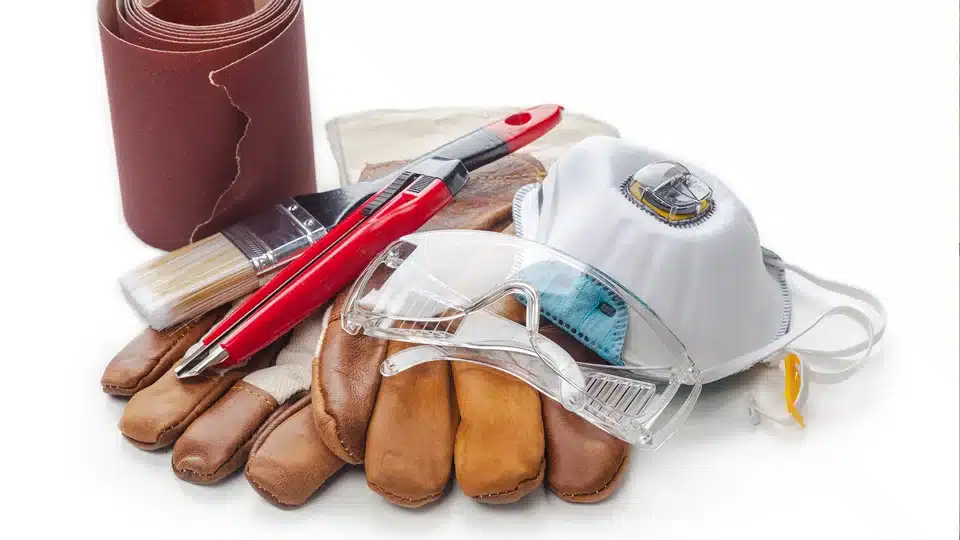
You’ll need a few essential tools and materials for this project. These include a garden sprayer, a wide scraper, sandpaper or a sanding pole, protective gear (goggles, mask, gloves), plastic sheeting, painter’s tape, primer, and paint. You may also want to have some joint compound on hand to patch up any gouges in the ceiling.
Step-by-Step Guide to Popcorn Ceiling Removal
Step 1: Prep your space
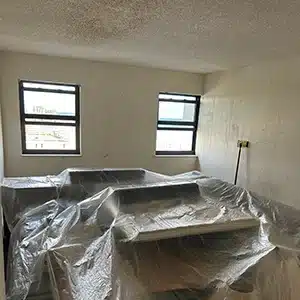
The first step in this process is to prepare your workspace. This process can get messy, so covering your floor and walls with plastic sheeting is essential. Use the painter’s tape to secure the sheeting. Additionally, move or hide any furniture in the room. Lastly, put on your protective gear – you don’t want any of the popcorn texture getting in your eyes or being inhaled.
Step 2: Wet the ceiling
Next, you’ll need to wet the ceiling. Fill your garden sprayer with warm water and spray a small section of the ceiling. Working in small areas is best to prevent the water from drying out. Allow the water to soak in for about 15-20 minutes. This will soften the popcorn texture, making it easier to scrape off.
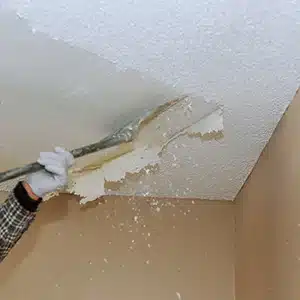
Step 3: Scraping off the popcorn texture
Using your wide scraper, gently remove the popcorn texture. Keep the scraper at a slight angle and avoid digging it into the ceiling. Remember, slow and steady wins the race here – if you rush, you risk gouging the ceiling.
Step 4: Sanding and smoothing
After you’ve removed the popcorn texture from the entire ceiling, allow it to dry completely. Once dry, it’s time to smooth things over. Sand the ceiling using sandpaper or a sanding pole. This will help to remove any remaining texture and ensure a smooth surface for painting. Remember, this step can be messy, so keep your protective gear on and consider opening a window for ventilation.
Step 5: Priming and painting
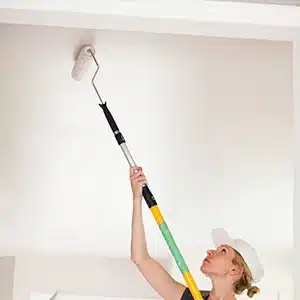
With your ceiling now smooth, it’s time to give it a fresh look. Begin by applying a coat of primer. This will help the paint adhere better and produce a more polished finish. Once the primer is dry, apply your chosen color. Consider using a roller for a more even application.
Common Mistakes to Avoid
There are a few pitfalls to watch out for when removing a popcorn ceiling. One of the most common is rushing the process. Remember, this isn’t a race. Take your time to remove the popcorn texture and smooth the ceiling carefully. Another mistake is skipping the safety precautions. As mentioned earlier, popcorn ceilings can contain asbestos. Always test for this before beginning the project. And finally, failing to prep the room properly can lead to a much larger mess than necessary. Make sure to cover all surfaces and remove or cover furniture.
Benefits of a Smooth Ceiling
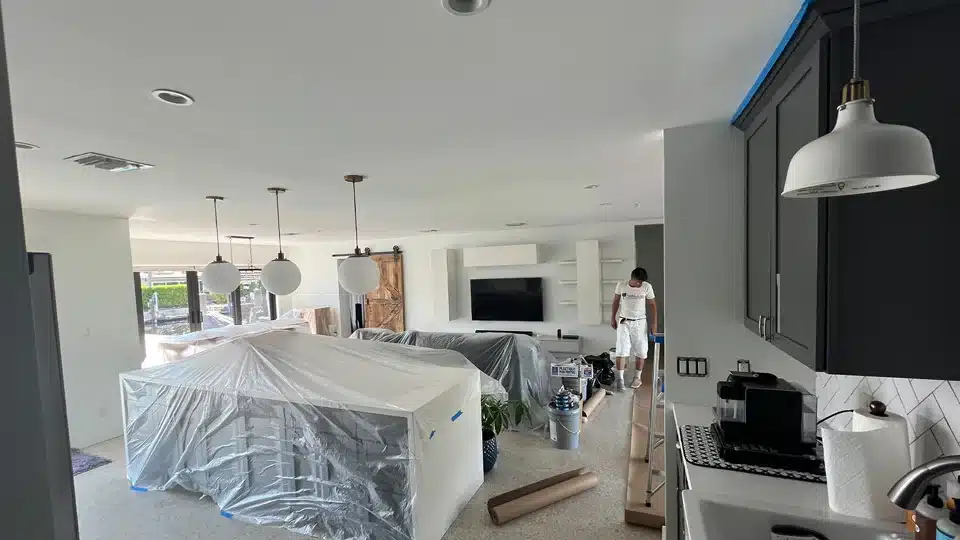
When you step back and admire your newly smooth ceiling, you’ll see why this task was worth the effort. A smooth ceiling changes the entire aesthetic of a room. It reflects light more efficiently, making the room appear brighter and more open. Cleaning a smooth ceiling is much easier than dusting a popcorn ceiling. In the event of any damage, repairs are also more straightforward and less noticeable. Additionally, this update can increase the value of your property, making it a worthwhile investment.
Conclusion
While removing a popcorn ceiling can seem daunting, it doesn’t have to be. With the right tools, a bit of preparation, and a dash of patience, you can effectively transform your dated ceiling into a sleek and modern one. Always consider the necessary safety precautions, especially if you live in an older home. You’ll be left with a smooth, attractive ceiling that enhances your home’s aesthetic and value.
FAQs
1. How long does it take to remove a popcorn ceiling?
Depending on the size of the room and the job’s complexity, it can take anywhere from a few hours to a few days to remove a popcorn ceiling entirely.
2. Can I paint over my popcorn ceiling instead of removing it?
While painting over a popcorn ceiling is undoubtedly an option, it may not give you the fresh, modern look you’re after. Also, remember that the popcorn texture might still trap dust and cobwebs even after painting.
3. What’s the biggest challenge in popcorn ceiling removal?
Aside from the time-consuming and messy task, the biggest challenge is ensuring a smooth finish after removing the popcorn texture. This typically involves careful scraping and thorough sanding.
4. Can I hire a professional to remove my popcorn ceiling?
Absolutely! If you’re uncomfortable taking on the task yourself, or if your ceiling tests positive for asbestos, hiring a professional is a good decision. They have the knowledge and tools to complete the job safely and efficiently.
5. Will popcorn ceilings ever come back in style?
While design trends constantly change, smooth ceilings are preferred due to their clean, minimalist aesthetic. However, in interior design, one can never say never. What’s out of class today could potentially make a comeback in the future.
6. Do all popcorn ceilings contain asbestos?
No, not all popcorn ceilings contain asbestos. However, many installed before the 1980s do, as asbestos was a common building material. If you’re unsure, it’s best to have your ceiling tested by a professional.
7. How can I minimize the mess when removing a popcorn ceiling?
Preparation is key. Cover all floors and walls with plastic sheeting before you begin, and remove or cover any furniture in the room. Also, work in small sections rather than trying the whole ceiling simultaneously.
8. What paint should I use after removing the popcorn texture?
After removing the popcorn texture and priming the ceiling, you can use any interior paint. However, a flat or matte finish is often preferred for ceilings as it doesn’t reflect light much and can help hide any remaining imperfections.
9. Can I add texture to my ceiling after removing the popcorn?
Many different ceiling texture options are available if you prefer a textured look. Just make sure to research and choose one that suits your style and the overall aesthetic of your home.
10. What should I do if I accidentally gouge the ceiling during removal?
If you accidentally gouge the ceiling while scraping off the popcorn texture, don’t worry. Small gouges can be filled with joint compound, then sanded smooth once dry.